


I'm obsessed with a food truck called THE CHAIRMAN. Imagine a taco, but made from the fluffy dough of a Chinese steamed bun, filled with deliciousness that includes spicy chicken with sesame puree and pretty pickled carrots, pork belly with radishes, and braised pork with pickled mustard seeds. It's pretty insane. And it's like nothing I have ever tasted in my life, ever. You know how some asian dishes just feel really heavy ? (generally not anything Vietnamese...but you know what I mean), this just oozes freshness and flavor insanity in one bite.
Anyway, this past Sunday was "the big game Sunday" (since we aren't allowed to say the SB word without infringing upon NFL trademarks). The weather in the Bay area has been incredibly warm and sunny, so I wanted to keep it light. I wanted to do something different than the usual, chili and chicken wings, that would be a surprise for our guests, and healthy, delicious, and fresh. See where I am going with this?
And so it goes the invention of the Asian inspired taco bar. How many "big game Sunday" events have you been to that have smorgasbord of the following available for your eating pleasure ? In the photos you will see these delicious buns made with steamed sliced chicken breast and marinated pork tenderloin, but trust me, the short rib and shrimp versions are equally insane. I may try this with duck confit next time. Because I can.....(and Costco now sells Duck Confit0.
If only my parents were alive to hear that... "Mom, Dad, Costco now sells duck Confit!" They would love it and call me ridiculous at the same time. Then they would say they have to hang up, and head to Costco to buy duck Confit.
Anyway, have fun with this, use whatever ingredients you like. Enjoy!
-pickled daikon
-pickled carrot
-julienned cucumber
-fresh chopped mint
-fresh chopped cilantro
-chopped green onion
-lime wedges
-braised short rib
-lemongrass steamed chicken
-mango ginger broiled shrimp
-wasabi aioli
-miso tahini sauce
-shiracha thai sweet chili aioli
-Asian slaw
-steamed bun shells (available at most Asian markets)
This preparation of this meal is best explained in PHASES.
PHASE 1: PICKLING
PHASE 2: PROTEINS
PHASE 3: SAUCES
PHASE 4: SIDES/EMBELLISHMENTS (aka accompaniments)
PHASE 5: BUNS
PHASE 1: PICKLING
Let's start with the pickling. I'd do this a couple of days ahead of time. The recipe for the carrots and the daikon are very similar, except for the vinegar. PS....feel free to add other things to your brine, like, for example, peppercorns, mustard seeds, lemongrass stalks, lemon, jalapeno...whatever you like.
PICKLED DAIKON
-2 large daikon radishes, peeled and thinly sliced in rounds (use a mandolin if you have one)
-1 tbsp. kosher salt
-1 cup rice vinegar
-1 cup water
-1 cup sugar
-1 tsp tumeric (optional)
Place sliced daikon and salt in a colander over a bowl or in the sink. Knead salt in to daikon, for about 3 minutes. Daikon should be softer and total daikon volume should be reduced by a bit. Squeeze as much liquid as you can. Rinse thoroughly with cold water several times, and drain, squeezing out as much liquid as you can, again. You want the daikon as dry as possible before immersing it in to the pickling liquid, so you can even lay the slices on a couple of layers of paper towels, roll them up, and dry them.
In the meantime, make your pickling liquid. Bring vinegar, water, sugar, and turmeric (still optional), to a boil. Reduce heat and stir until sugar dissolves. Remove from heat and allow to cool to room temperature.
While that is happening, sterilize a couple of mason jars, three small or one large. By sterilizing, I just boil them and put them on a clean towel.
Finally, add the daikon to the jar, pack them in tight, cover with pickling liquid, and refrigerate, giving it at least a day to cure.
PICKLED CARROTS
-3 large carrots, peeled and julienned in to matchstick strips
-2 tbsp. kosher salt
-2 tbsp. sugar
-1 cup distilled white vinegar
-1 cup water
-1/2 cup sugar
Place carrots, 2 tbsp. sugar and salt in a colander over a bowl or in the sink. Knead salt and sugar in to carrots, for about 3 minutes. Carrots should be softer and total carrot volume should be reduced by a bit. Squeeze as much liquid as you can. Rinse thoroughly with cold water several times, and drain, squeezing out as much liquid as you can, again. You want the carrots as dry as possible before immersing them in to the pickling liquid, so you can even lay the slices on a couple of layers of paper towels, roll them up, and dry them.
In the meantime, make your pickling liquid. Bring vinegar, water, sugar to a boil. Reduce heat and stir until sugar dissolves. Remove from heat and allow to cool to room temperature.
While that is happening, sterilize a couple of mason jars, three small or one large. By sterilizing, I just boil them and put them on a clean towel.
Finally, add the carrots to the jar, pack them in tight, cover with pickling liquid, and refrigerate, giving it at least a day to cure.
PHASE 2: PROTEINS
You really could do anything here, make tofu if you want a vegetarian option, maybe buy some already confited duck and shred it. Pork tenderloin would also be wonderful. For my first attempt at this feast I chose to make short ribs, chicken breast, and shrimp.
BRAISED SHORT RIBS
This is very similar to my other braised short rib recipe, however, there are some variances in the ingredients and it has fewer steps since you are not making the reduction.
As usual, I didn't really measure, so just proportion based on your flavor preferences.
-at least four large boneless short ribs (I bought a large pack at Costco and made them all, they keep well)
-heavy pot 5-8 qt (preferably cast iron, avoid nonstick)
-slow cooker or heavy pot with lid (I used slow cooker)
-regular olive oil (not extra virgin)
-salt
-pepper
-onion (minced)
-garlic cloves (finely minced)
-shallots (sliced thin)
-carrots (finely chopped)
-celery (finely chopped)
-low sodium soy sauce
-a little rice wine vinegar
-bottle white wine
-1/2 bottle red wine
-honey
-brown sugar
-cumin
-coriander
-cilantro
-parsley
-low sodium chicken stock
-peel of 1/4 lemon
-peel of 1/4 lime
Steps:
1) Salt and pepper short ribs
2) Heat olive oil in pan
3) Brown short ribs on all sides (this takes a while and they should have a crust on them). Remove from pan after browning and place in your slow cooker or heavy pot, covered, as some blood will come out, and you want to retain as much moisture as possible.
4) Saute shallots, add garlic, carrots, and celery in same pan with drippings.
5) Add wine to pan, allow some of the alcohol to cook out.
6) Add a few shakes of low sodium soy sauce (if you can't handle the gluten use dr.braggs amino acids instead)
7) Add cup chicken stock
8) Add 1/2 cup raw honey and two tbsp brown sugar
9) Liquids should be reducing, add a tsp of thyme, 1/8tsp cumin, and a fist full of parsley.
10) Dump all of the contents of the pan in to the slow cooker/pot over the ribs. If it is not fully covered, add more chicken stock.
11) Add lemon and lime peel.
12) Set slow cooker to six hours on low.
13) After the six hours, set to two hours on high. Test for doneness, should be falling off fork.
14) Heat pan coated with olive oil.
15) Remove the cooked short ribs from the liquid and transfer to pan to create final crust (basically repeating the first step). Remove from pan, Wrap up in foil and set aside.
BROILED GINGER MANGO SHRIMP
-1-2 lbs. large shrimp, deveined, tails on.
-mango nectar
-garlic (finely chopped)
-ginger (grated or in jar)
-low sodium soy sauce
-honey
-ground pepper
-rice wine vinegar
1) Combine all ingredients except shrimp.
2) Add shrimp.
3) Marinate refrigerated for 24 hours.
4) Turn on top broiler
5) cover baking sheet with foil.
6) Remove shrimp from marinade and place in single layer on baking sheet.
7) Spray shrimp with olive oil spray.
8) Broil until shrimp begin to brown. Pull pan out of oven, flip shrimp over with tongs, broil until second side begins to brown. Remove from oven.
9) Remove tails.
STEAMED LEMONGRASS CHICKEN
-chicken breasts, cleaned and sliced in to thin slices (horizontally)
-lemongrass stalk
-garlic cloves (whole without skin)
-pepper corns
-chicken stock
-water
1) Place all ingredients except chicken breasts in bottom of steamer, bring to low boil.
2) Place top of steamer on top of bottom of steamer.
3) Spray top of steamer base with olive oil.
4) Add chicken slices in single layer.
5) Cover.
6) Steam for 4-5 minutes per side, or until cooked.
7) Remove from steamer. Be careful, you don't want to end up with a steam burn. That sucks.
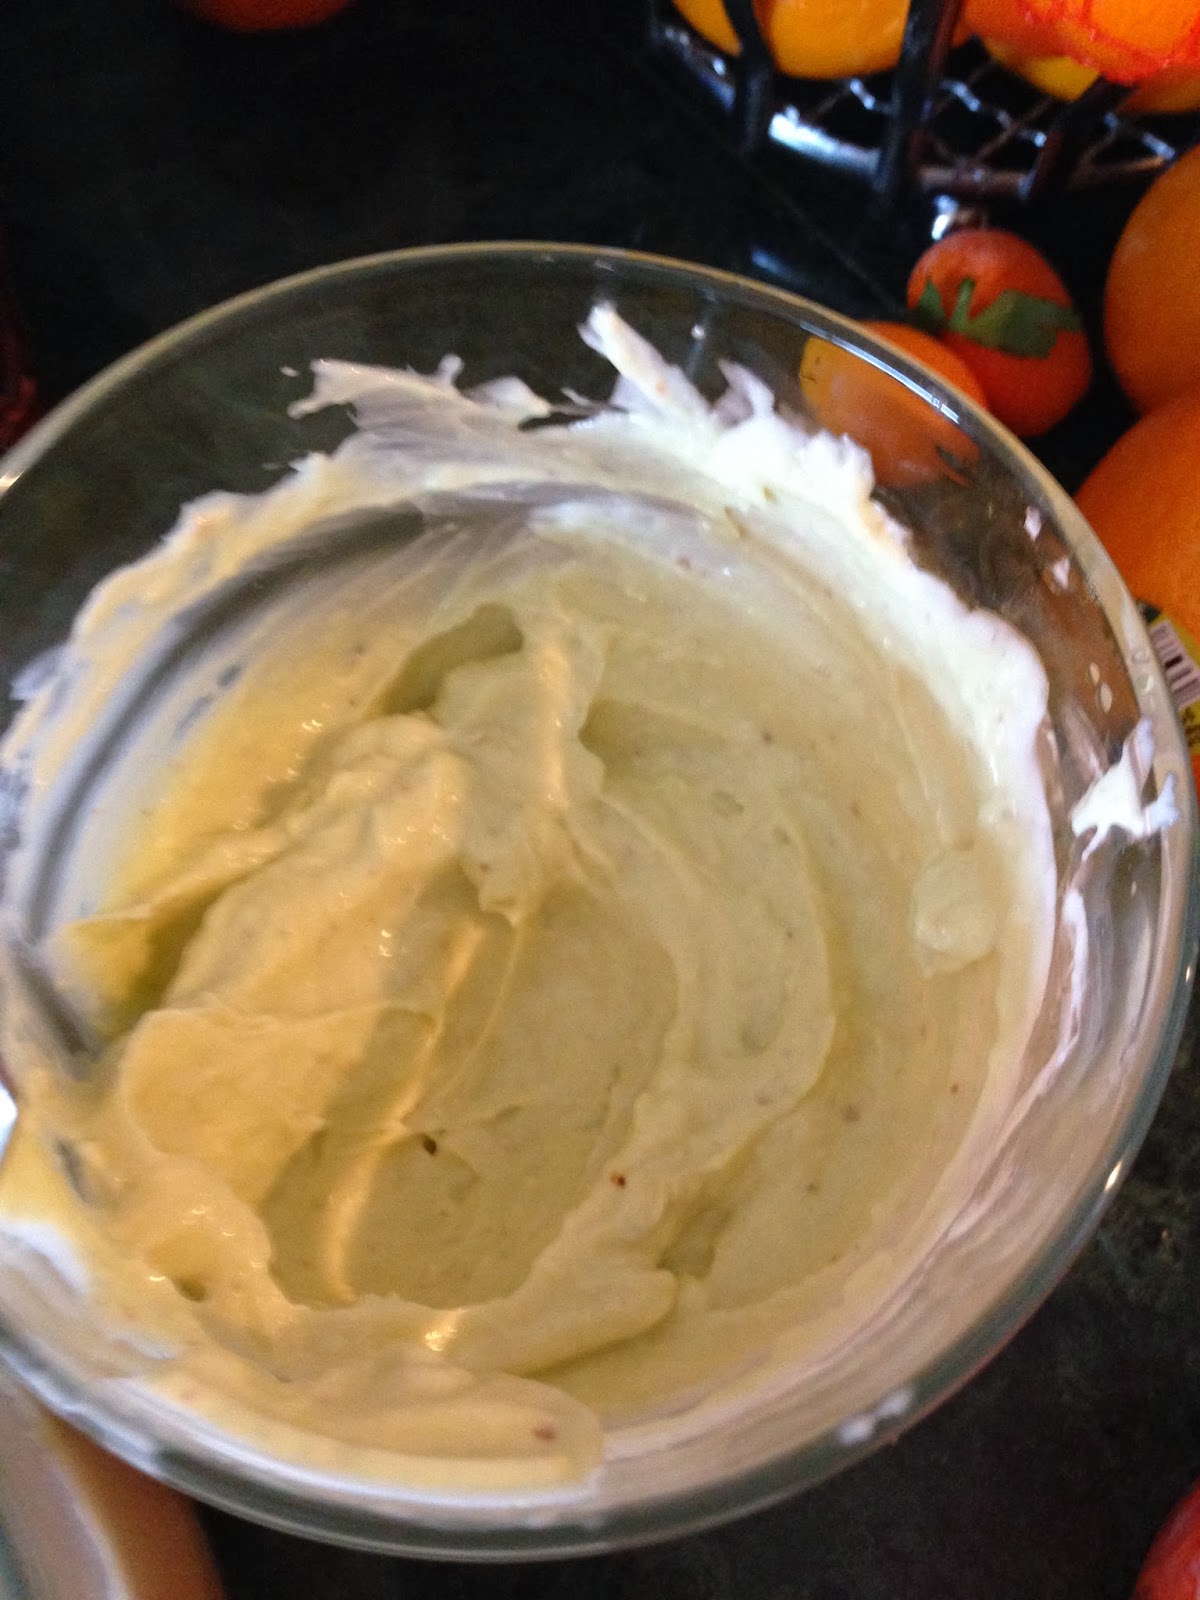
PHASE 3: SAUCES
It all starts with a basic homemade mayonnaise.
-2 whole eggs and 2 egg yolks
-juice of 1/2 lemon
-some salt
-a little Dijon
-grape seed oil
-olive oil
1) Place eggs and yolks in Cuisinart.
2) Add lemon, salt, and Dijon.
3) Start the Cuisinart.
4) Stream in combination of grape seed oil and olive oil to desired consistency.
Wasn't that easy?
Now that you have done that, you can move on to all sorts of wonderful combinations which I suggest serving in those plastic condiment squeeze bottles. Seriously, next time I am going to play with some more options, like, I don't know, ginger lemongrass? green onion ponzu ? The possibilities are ENDLESS!!!!! Here were mine for today:
Wasabi Aioli
-wasabi paste
-homemade mayonnaise as prepared above
1) Blend wasabi paste in to aioli.
2) Done.
Shiracha Thai Chili Aioli
-shiracha
-sweet thai chili sauce
-homemade mayonnaise as prepared above
1) Blend shiracha and sweet thai chili in to aioli.
2) Done
Miso Tahini Sauce
-brown rice miso paste
-tahini
-sesame oil
-one garlic clove, minced
-plain greek yogurt
-low sodium soy sauce
-fresh lime juice from 1/2 lime
-homemade mayonnaise as prepared above
1) Blend a small amount of miso paste and tahini.
2) Add a small amount of aioli.
3) Transfer to blender.
4) Add greek yogurt
5) add sesame oil, garlic, and soy sauce.
6) add lime
7) Blend.
8) Done. Unless you want to add more of something from that list to taste.
PHASE 4: EMBELLISHMENTS
When you put together your taco bar, you need to have some fun things to sprinkle on top in addition to your pickled carrots and daikon. This can include:
-chopped mint
-chopped cilantro
-chopped green onion
-sliced pickled garlic.
-lime wedges
-julienned cucumber
-tiny slices of hot red jalapeno or thai chili pepper
-crushed fried wonton skins
Arrange all of this in serving bowls. Looks really pretty!
Additionally, I like to make an Asian slaw to serve as a side or you can use as a topping for the buns. I typically add just the tiniest bit of sugar to this, but you don't want it too sweet or it will overwhelm the carrots and daikon. I've included the recipe below:
ASIAN SLAW
-head of cabbage, finely chopped or shredded
-rice wine vinegar
-soy sauce
-yellow mustard seeds
-sesame oil
1) Place cabbage in bowl.
2) Mix together all remaining ingredients.
3) Pour remaining ingredients over cabbage.
4) Done.
PHASE 5: STEAMED BUN SHELLS
Go to the local Asian market and buy the shells, they are in the freezer with all the filled buns (bao's).
1) Take your steamer and add water to the bottom, bring to low boil.
2) Arrange shells in top layer of steamer. Cover.
3) Let steam for 5-10 minutes until warm and soft.
4) Remove carefully.
Now that you have done all of that, grab a plate, build some taco buns, and prepare to be delighted!!!
PS....it was freezing outside and it poured rain on "big game Sunday"......